
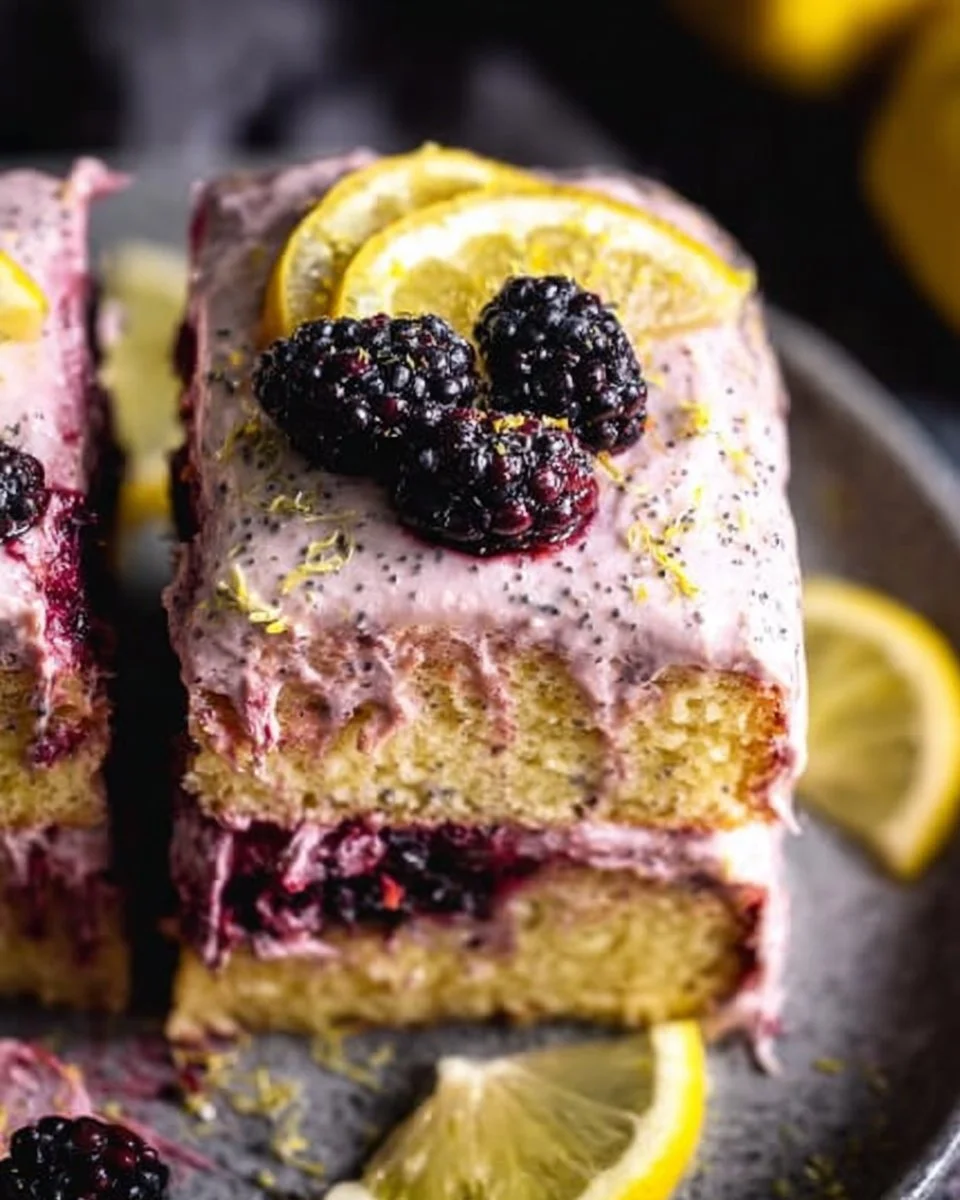
There’s something truly special about baking a cake that fills your kitchen with the warm, bright scent of lemon and sweet blackberries. This Gluten Free Lemon Poppy Seed Blackberry Cake delivers a delightful harmony of flavors and textures—think tender crumb infused with refreshing citrus, perfectly complemented by the occasional burst of tart berry. Honestly, it’s one of my go-to recipes for celebrating family gatherings or simply brightening up a rainy afternoon!
What I love about this cake is that it comes together surprisingly fast, making it perfect for a spontaneous dessert or a cozy weekend treat. Whether you’re serving it at a birthday party or enjoying a slice with your afternoon tea, it adapts beautifully to any occasion. And the best part? You’ll likely have some delicious leftovers that only improve with time!
WHY I LOVE GLUTEN FREE LEMON POPPY SEED BLACKBERRY CAKE
Let me tell you why this Gluten Free Lemon Poppy Seed Blackberry Cake holds a special place in my heart. It’s incredibly easy and undeniably delicious, effortlessly hitting that sweet spot between sweet and tangy. Plus, the addition of poppy seeds gives it that charming texture, while the blackberries add a burst of juiciness—what’s not to love? This cake is a true winner at my table, bringing smiles to everyone from kids to grandparents!
GLUTEN FREE LEMON POPPY SEED BLACKBERRY CAKE INGREDIENTS
The magic of this cake truly lies in its bright and vibrant ingredients. Each component plays its part in ensuring a delightful flavor and texture that make this cake a joy to eat. Don’t worry about exact measurements just yet; those are all in the recipe card for you!
Essential Components
- 1 1/2 CUPS GLUTEN FREE FLOUR: The base of our cake, ensuring a tender crumb while keeping everything gluten-free.
- 1/2 CUP ALMOND FLOUR: This little gem adds moisture and a delightful nuttiness that elevates the overall taste.
- 1/2 CUP SUGAR: For just the right balance of sweetness—too little and it won’t be indulgent enough!
- 1/4 CUP POPPY SEEDS: These tiny seeds are not just for show—they add a unique crunch and a lovely visual appeal!
- 1 TEASPOON BAKING POWDER: The essential leavening agent that helps our cake rise beautifully.
- 1/2 TEASPOON BAKING SODA: Works alongside the baking powder to ensure a light texture.
- 1/2 TEASPOON SALT: A pinch of salt amplifies all the wonderful flavors in this cake.
- 1/2 CUP UNSALTED BUTTER, SOFTENED: For richness and moisture, it contributes to a tender crumb.
- 1/2 CUP HONEY: Adds a natural sweetness and a hint of floral flavor—truly a match made in heaven!
- 3 LARGE EGGS: The binding agents that help our cake hold everything together.
- 1 TEASPOON VANILLA EXTRACT: A classic flavor enhancer that rounds out the sweetness perfectly.
- 1/4 CUP LEMON JUICE: The star player that infuses the cake with bright, zesty goodness!
- ZEST OF 1 LEMON: For that extra kick of citrus flavor; it’s amazing how just a little zest can brighten up a dish.
- 1 CUP BLACKBERRIES: These juicy bursts of flavor bring a delightful contrast to the cake!
SUBSTITUTIONS AND TIPS
Need a swap? If you don’t have almond flour on hand, feel free to use an equal amount of gluten-free flour—just know it might lose a bit of that wonderful nutty flavor. If you’d like a little less sweetness, you can reduce the honey, though it won’t be quite as rich. If you want to add even more berries, raspberries or blueberries work nicely, too! Just make sure to pat them dry before adding them to your batter—this helps prevent the cake from getting soggy.
KITCHEN TOOLS YOU’LL NEED
- 9-inch round cake pan (or any preferred shape)
- Mixing bowls (medium and large)
- Whisk
- Rubber spatula or wooden spoon
- Measuring cups and spoons
- Cooling rack
HOW TO MAKE GLUTEN FREE LEMON POPPY SEED BLACKBERRY CAKE
Let’s dive into creating this wonderfully zesty Gluten Free Lemon Poppy Seed Blackberry Cake. I’ve broken down the process into simple steps, so follow along, and you’ll have a delicious treat in no time. We’re aiming for a fluffy, moist cake loaded with bright flavors and juicy blackberries!
Prep Your Pan and Oven
First, preheat the oven to 350°F (175°C) and grease your cake pan. This step is key to ensuring your cake comes out beautifully without sticking!
Mix Dry Ingredients
Next, in a mixing bowl, combine the GLUTEN FREE FLOUR, ALMOND FLOUR, SUGAR, POPPY SEEDS, BAKING POWDER, BAKING SODA, and SALT. Whisk together until everything is well blended—no lumps allowed!
Cream the Butter and Honey
Now, in another bowl, cream together the SOFTENED BUTTER and HONEY until light and fluffy. This is where the base flavor and moisture come from—so enjoy the aroma as it comes together!
Incorporate the Eggs One by One
Once that’s fluffy, add the EGGS one at a time, mixing well after each addition. This helps to ensure the eggs incorporate fully, creating an even batter.
Flavor Forward: Vanilla and Citrus
Now, it’s time to stir in the VANILLA EXTRACT, LEMON JUICE, and LEMON ZEST. The moment those vibrant flavors hit the bowl, it’s a citrus symphony that’s hard to resist!
Combine Dry and Wet Ingredients
Gradually add the dry ingredients mixture to the wet ingredients, mixing until everything is fully combined. You want a smooth, thick batter that’s both airy yet substantial.
Fold in the Blackberries
Here comes the fun part! Gently fold in the BLACKBERRIES, being careful not to crush them too much. Their juicy sweetness will dot your cake and give it that signature flavor.
Pour and Bake
Pour the batter into your prepared cake pan, spreading it evenly. Bake for 30-35 minutes, or until a toothpick inserted in the center comes out clean. This is the moment of truth—your kitchen will smell heavenly!
Cool and Serve
Finally, let the cake cool in the pan for a few minutes before transferring it to a cooling rack. Once it’s cool, slice up your masterpiece and get ready for the compliments!
HOW TO STORE GLUTEN FREE LEMON POPPY SEED BLACKBERRY CAKE
If you find yourself with leftovers (which can be a rarity!), this cake stores beautifully. At room temperature, it will stay fresh for about 2-3 days, just keep it wrapped in plastic. If you want to keep it longer, pop it in the fridge in an airtight container for up to 4 days. For those who love to plan ahead, you can freeze chunks of the cake for 2-3 months. Just remember to thaw it in the refrigerator overnight before enjoying. When you want to indulge again, feel free to pop it in the microwave for about 10-15 seconds to warm it up!
TIPS FOR SUCCESS
- Make sure your butter is at room temperature for better creaming.
- Don’t skip the zest—it makes a world of difference!
- Gently fold in your berries to avoid excess mushiness.
- Always check your cake a bit before the recommended baking time; every oven is different.
- For a fancier presentation, dust with powdered sugar before serving.
SERVING SUGGESTIONS
- Serve with a dollop of whipped cream or a scoop of vanilla ice cream for extra indulgence.
- Pair with a refreshing iced tea or a glass of bubbly prosecco for a delightful afternoon break.
- Add a citrusy twist with a lemon glaze poured over the top for glam!
- Garnish with fresh mint leaves for a pop of color and freshness.
- Enjoy a slice along with a fruit salad for a balanced dessert option.
Happy baking, and enjoy every lovely bite of this delightful cake! 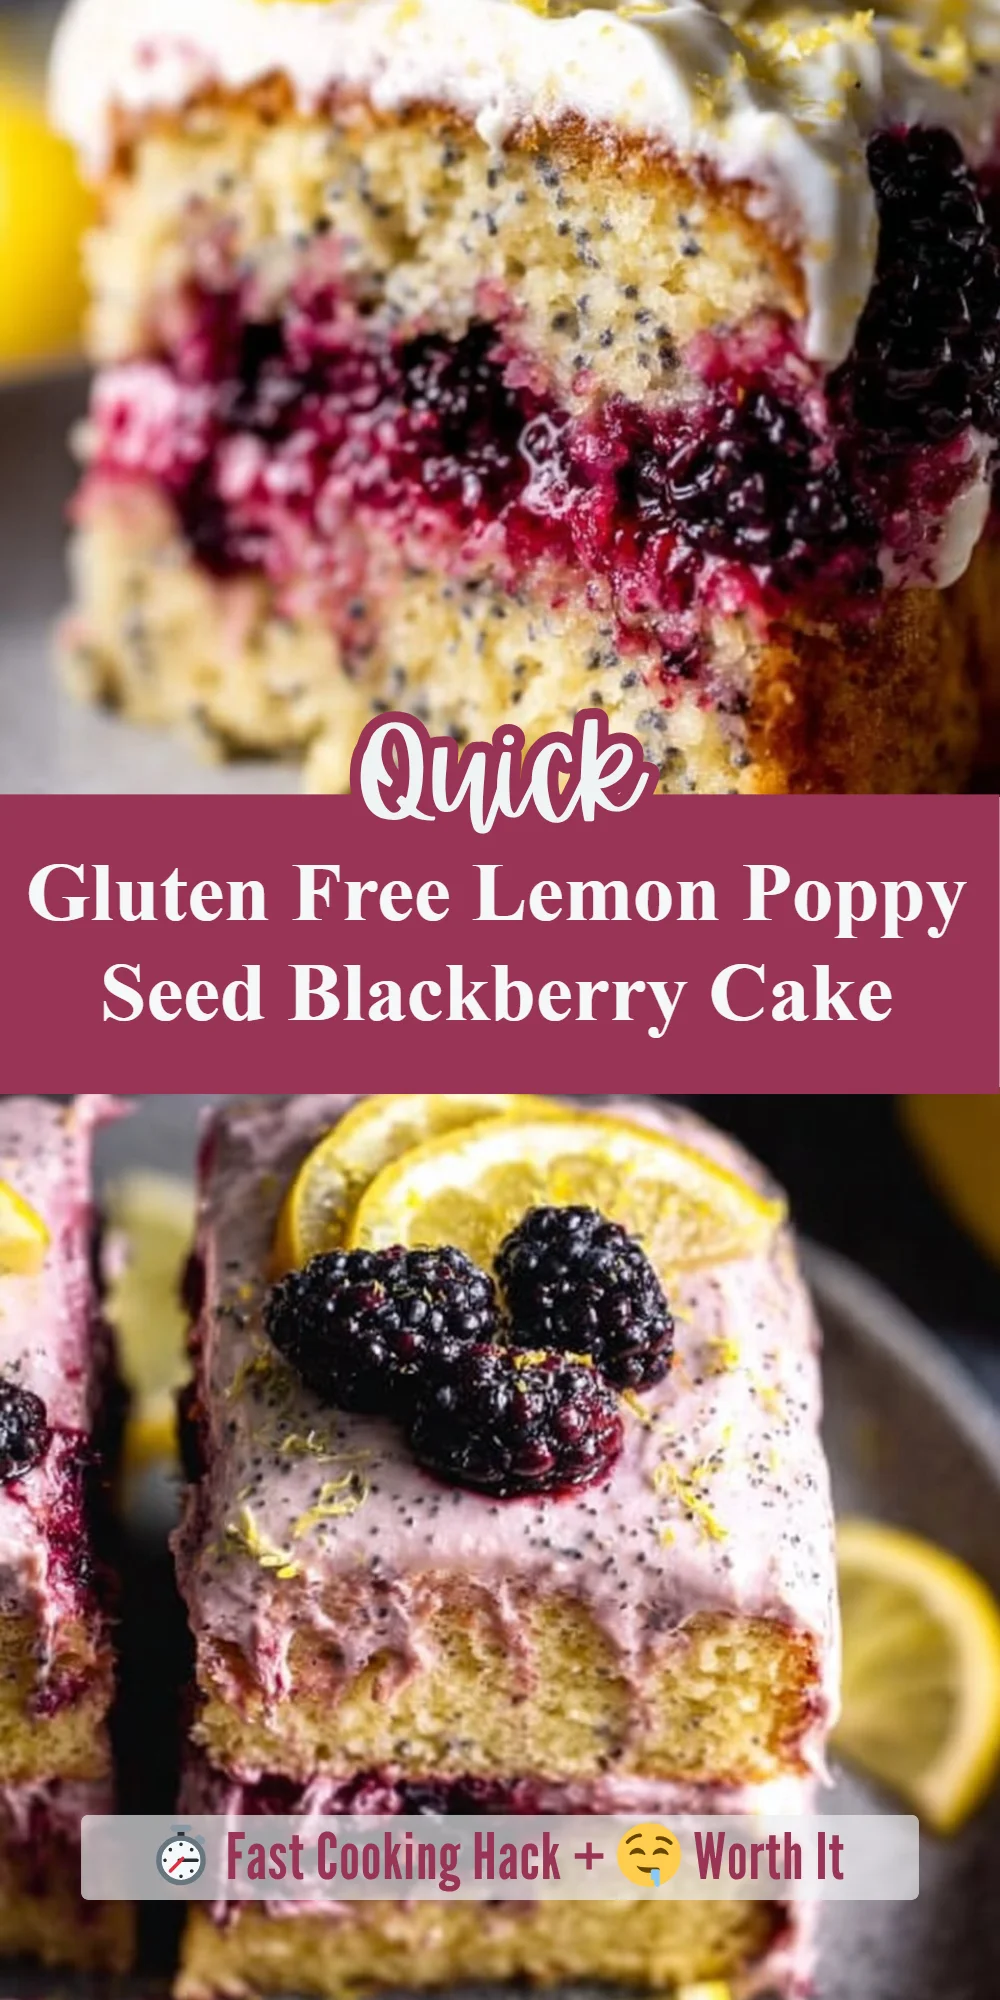

Leave a Comment