
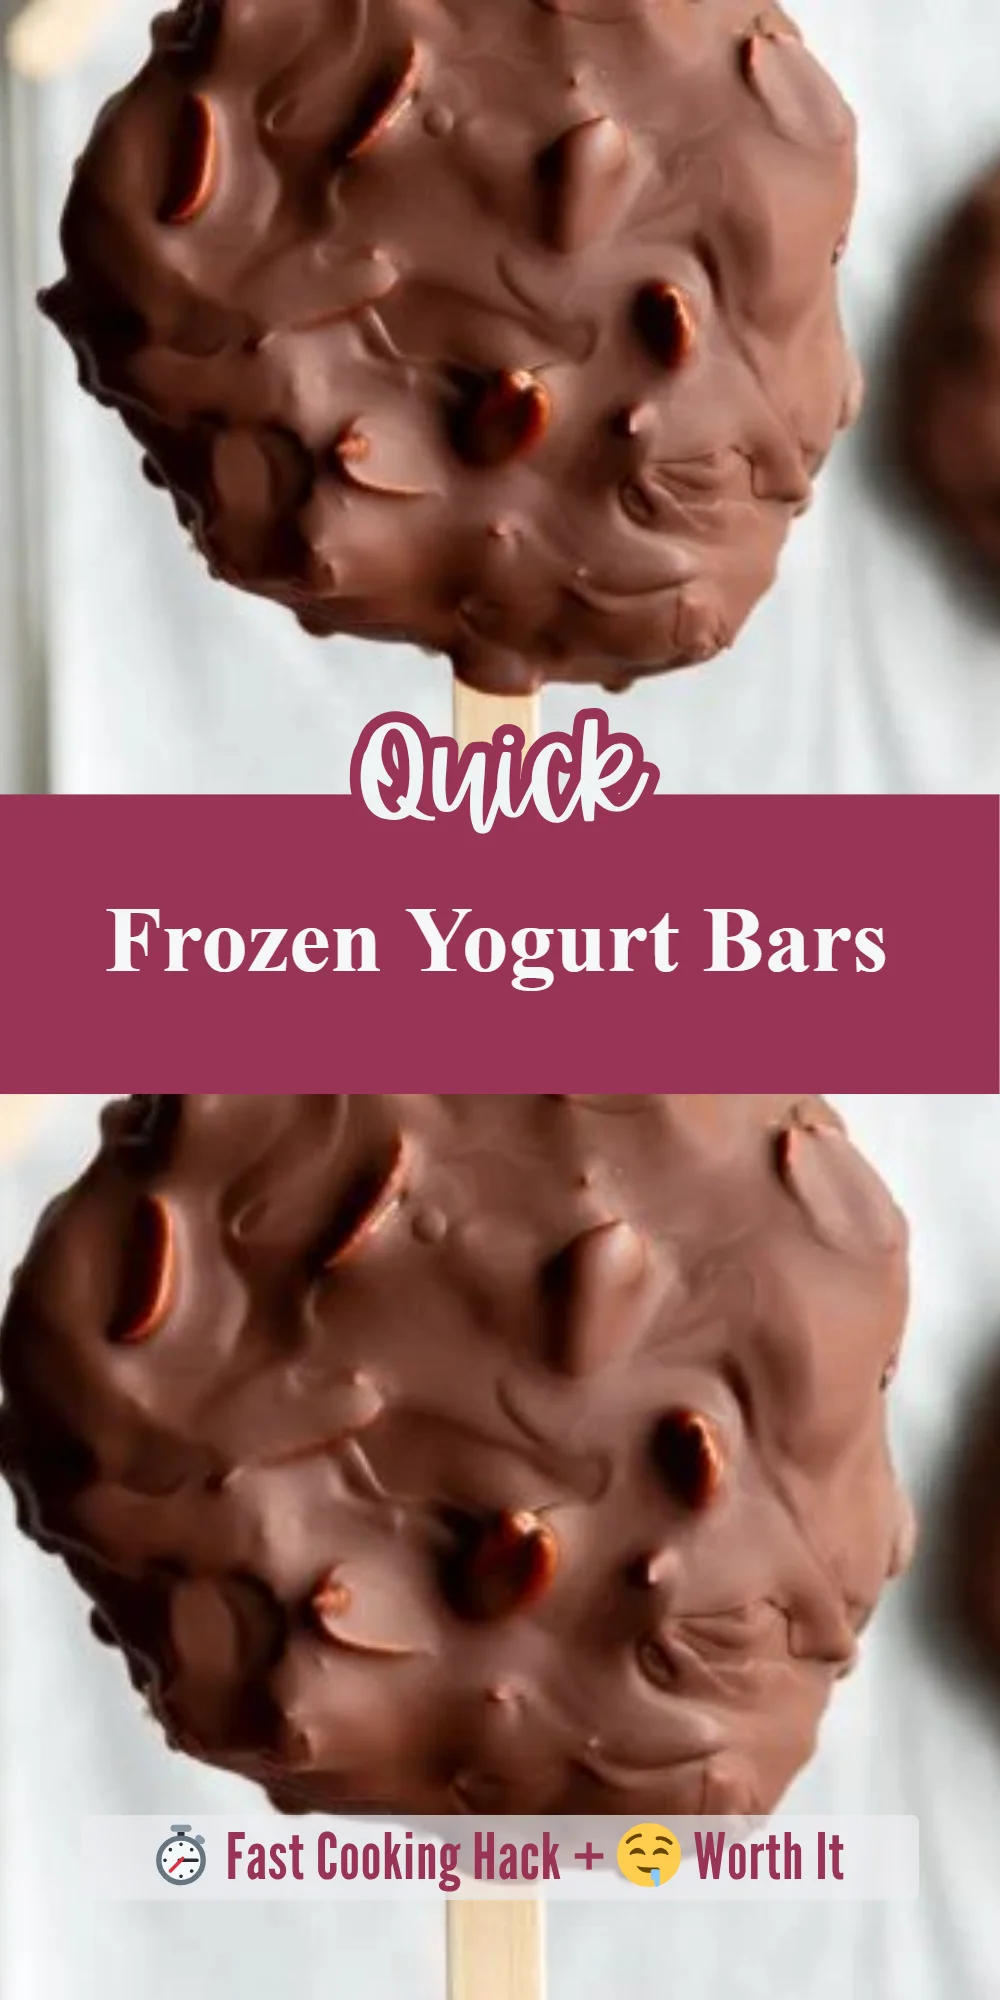
The sun was setting, casting a warm glow as I pulled a tray of Frozen Yogurt Bars from the freezer, an inviting sight perfect for cooling down on a hot day. These delightful treats come together in just about 20 minutes of prep time, and the creamy yogurt paired with indulgent peanut butter makes for a surprisingly satisfying snack. Your taste buds will thank you as the chocolate coating adds a rich finish to this simple yet delicious recipe.
This recipe is ideal for families looking for healthier dessert alternatives or anyone craving a sweet treat without the guilt. They’re perfect for summer gatherings, after-school snacks, or anytime you need a refreshing pick-me-up. Plus, you can make these ahead of time and easily store them in your freezer to enjoy later.
Why You’ll Love This Recipe
- The creamy texture of yogurt combined with peanut butter creates a delightful contrast.
- Quick to prepare, these bars are ready in just 20 minutes of prep time.
- Customizable with your choice of nuts or toppings for added crunch.
- They’re a healthier alternative to traditional ice cream bars.
What You’ll Need
To make these delicious bars, gather the following ingredients:
For the Yogurt Base
- 1 cup yogurt of choice (I used Greek yogurt but really any kind works well including vegan yogurt)
- 1/3 cup peanut butter, natural and runny type preferred
- 1/4 cup chocolate chips, regular or mini
- Handful of nuts (optional; I used peanuts)
For the Chocolate Coating
- 1 cup dark chocolate chips/chunks
- 2 tablespoons coconut oil
Use mini chocolate chips for a better distribution.
Substitutions & Swaps
- Greek yogurt can be substituted with any yogurt type.
- Peanut butter can be swapped with almond butter.
- Dark chocolate can be replaced with milk chocolate.
How to Make It
Bring together your ingredients and follow these simple steps:
Line the baking sheet.
Prepare your workspace by lining a large baking sheet with parchment paper or a silicone mat. This will prevent the yogurt bars from sticking.
Mix the ingredients.
In a bowl, mix together the yogurt, peanut butter, and chocolate chips until fully combined. Place piles of the yogurt mixture onto the parchment paper, about 1/4-1/3 of the mixture each. Spread each pile into a circle that’s about 3 inches around.

Insert popsicle sticks.
Place a popsicle stick halfway into each yogurt mound, ensuring it’s in the center and covered on the top and bottom. Sprinkle on the nuts evenly if you’re using them.
Freeze the yogurt bars.
Place the baking sheet in the freezer for at least 2 hours to harden. This step is essential for making sure your bars hold their shape.
Prepare the chocolate coating.
Once the yogurt bars are hardened, combine the dark chocolate and coconut oil in a microwave-safe bowl. Melt the mixture in the microwave in 20-second increments, stirring in between, until smooth.
Dip the pops.
Quickly dip each yogurt pop into the melted chocolate, covering it well, as the chocolate will harden fast once it cools. You may place them back in the freezer to help set the chocolate, although this is usually unnecessary.
Enjoy!
Once the chocolate has hardened, they’re ready to enjoy. Store any leftovers in an airtight container in the freezer.
How to Store It
Fridge: Not recommended as they melt quickly.
Freezer: Yes, they stay fresh for weeks.
Reheat: No reheating necessary.
Tips for Best Results
- Use the runniest peanut butter for easier mixing and better texture.
- Freeze the yogurt bars long enough to ensure they’re sturdy when dipped.
- Work quickly when dipping to avoid chocolate setting early on your pops.
Serving Suggestions
- Serve them at summer BBQs as a fun dessert.
- Pair with fresh fruits for a balanced snack.
- Bring to a picnic for a refreshing treat on a warm day.
Leave a Comment